
If you’re interested in repainting your home, it is essential to research every step of your project before you begin. You may or may not be aware, but interior painting is a multi-step process that is quite the undertaking! While you may be focused on changing the color or transforming your space, the true trademark of a professional paint job relies on the quality of the finish and the longevity of the painting project. A flawless paint job begins with proper wall preparation before applying the color. In this step-by-step guide, we will walk you through the best surface preparation tips, ensuring a smooth finish and lasting results that will make your home shine.
6 Surface Preparation Tips When Painting
1. Clean the Surface of Dirt & Debris
Over time, walls accumulate dirt, grease, and contaminants that can affect paint adhesion. Before you even think about picking up a paintbrush for your next interior painting project, the first crucial step is to clean the surface and ensure no substances, dust, or debris are covering your walls. If your walls are relatively clean, warm water with a bit of soap is an adequate cleaning tool; however, when repainting less pure walls, trisodium phosphate (TSP) can be an alternative solution.
TSP is a potent cleaner that effectively removes dirt and grime. Start by mixing TSP with water according to the manufacturer’s instructions. Use a sponge or a cloth to apply the solution and wipe down the walls, then rinse the walls with water to remove residual TSP. Please pay special attention to areas with visible stains, as they can show through the new paint.
2. Patch and Repair Imperfections
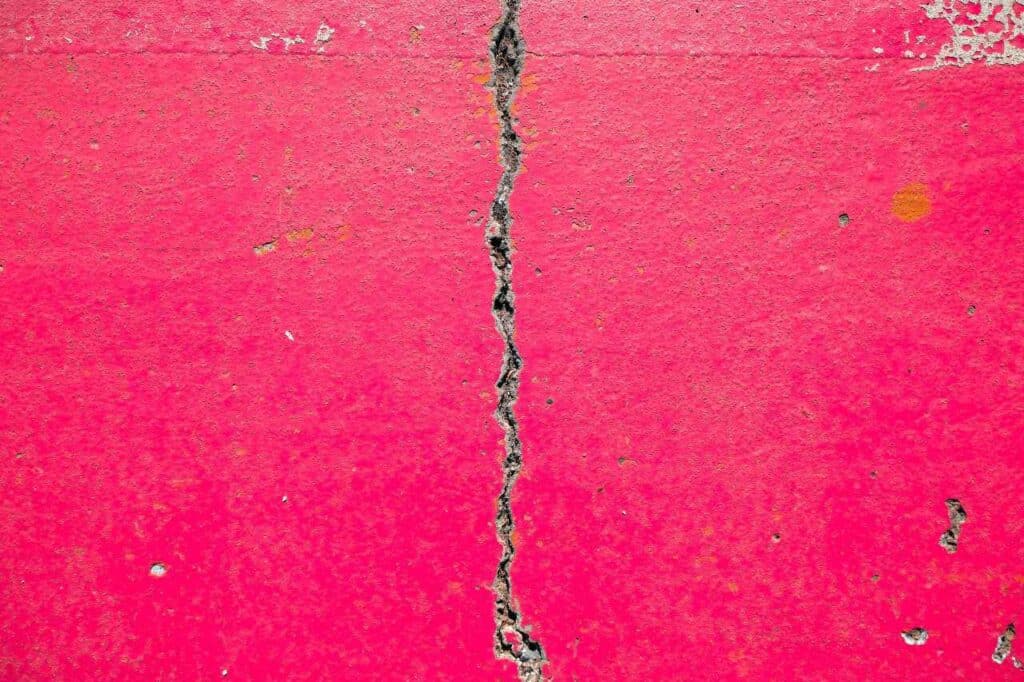
One of the most critical surface preparation tips is to patch and repair any imperfections in your walls. Holes, dents, and cracks can detract from the beauty of the most carefully applied interior painting jobs. For small holes and minor imperfections, spackle is your go-to solution for patches and repairs. Apply spackle with a putty knife, ensuring a smooth finish, and let it dry. After drying, sand the area lightly so it is flush to the wall.
For larger holes and cracks, a joint compound is the best choice. The application is similar to spackle: apply joint compound with a putty knife and feather the edges to blend with a surrounding wall. Sand the area when dry, and use a second coat when necessary for larger areas.
3. Sand Until it is Smooth
Sanding is crucial in achieving a smooth surface in interior painting work. There are a few surface preparation tips to sand your walls effectively:
A. Choose the Right Grit
The most important part of sanding is choosing the correct grit. Coarser grits are lower numbered, 60-100, and are ideal for removing old paint or smoothing rough surfaces. Fine grit, 150-220, is suitable for preparing walls for paint and smoothing out spackle or joint compound.
B. Control the Dust
Sanding generates dust that can affect your paint job. Use a dust mask, and consider using a sanding block with a built-in vacuum attachment to minimize dust. Seal off doorways and air vents of your home to prevent dust from circulating to other spaces.
C. Apply Even Pressure
Sand in a circular or back-and-forth motion, continuously moving the sander. Maintain even pressure to avoid creating divots or uneven surfaces on the walls.
D. Inspect Your Work
After sanding, inspect your work to ensure a uniformly smooth and clean surface. If you find any remaining imperfections, repeat the patching and sanding process as needed.
4. Addressing Mold & Stains
Mold spots and stubborn stains can be a persistent problem that can scupper an interior painting job by bleeding through the new paint. Therefore, mold requires specific treatment to prevent it from returning.
We suggest you clean the affected area with a mixture of water and a mold-killing solution. Once it is dry, use a high-quality mold-inhibiting primer on any surface you think has come into contact with mold. For stains that don’t have mold, use a stain-blocking primer before painting. This prevents the stains from bleeding through on your new interior painting job, ensuring a pristine finish.
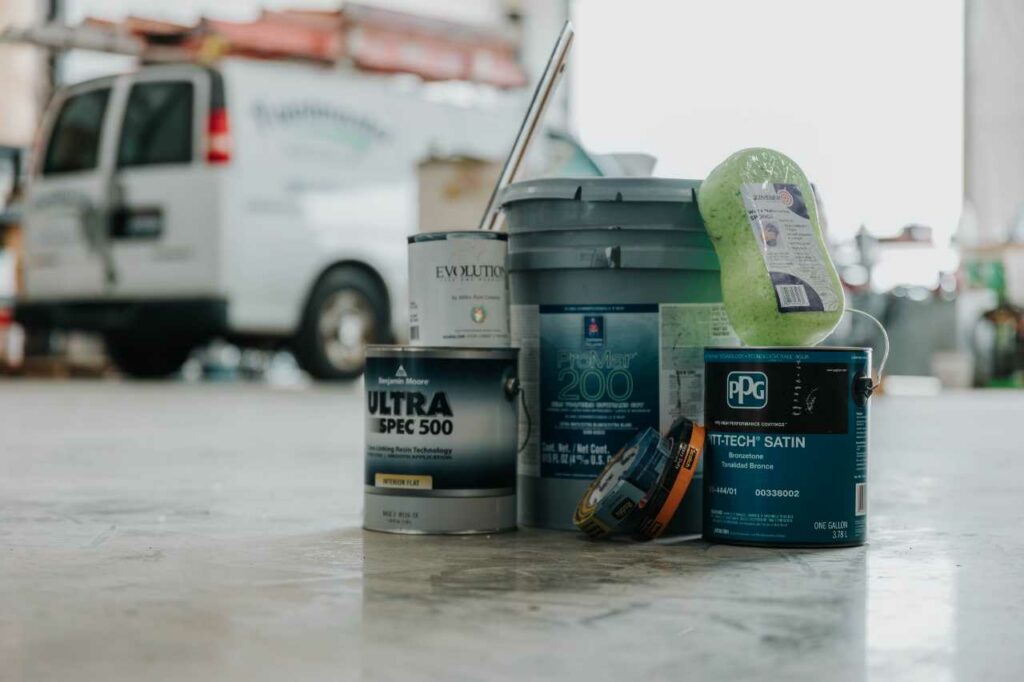
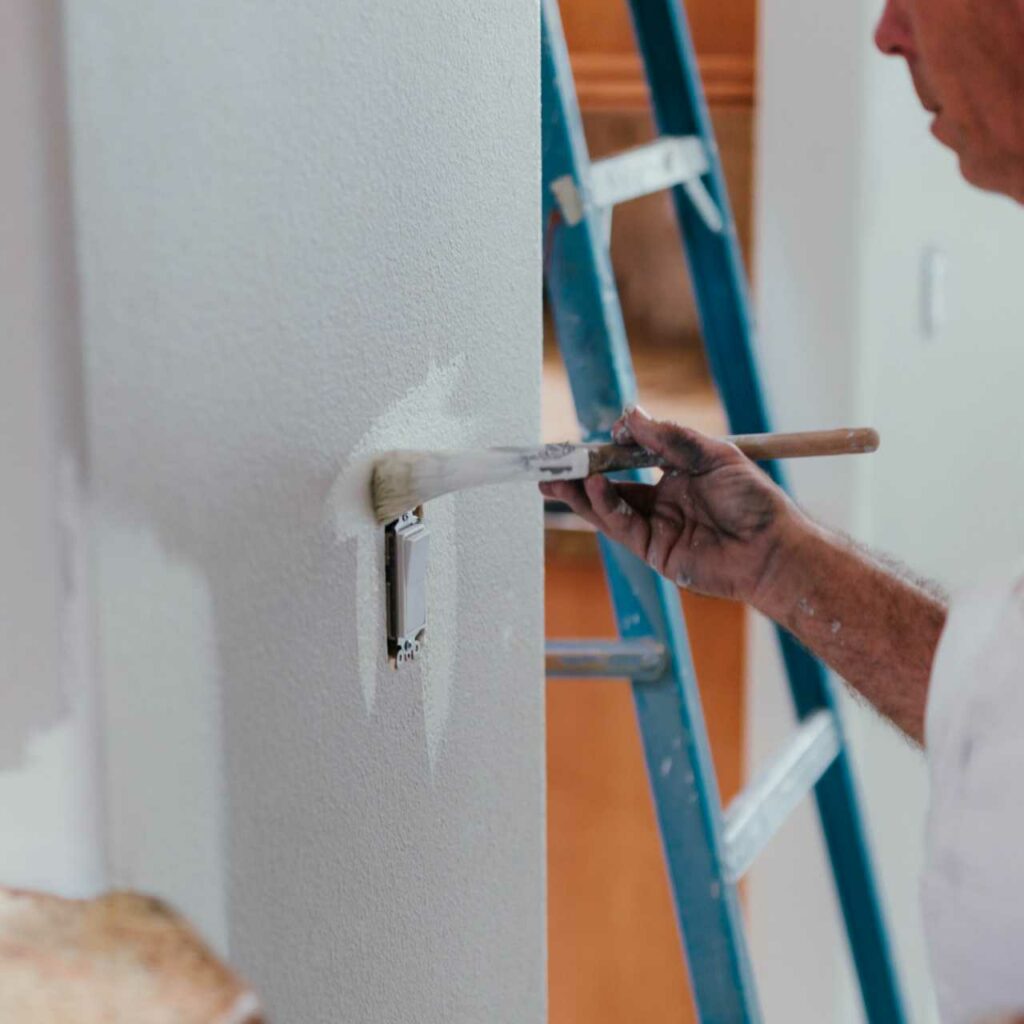
5. Use a High-Quality Primer
Priming is a crucial step on this surface preparation tip list. Priming is essential on porous surfaces, to cover stains, or when making significant color changes. Primer seals the surface and promotes paint adhesion, especially on porous surfaces like bare drywall or patched areas. When transitioning to a significantly different color, a tinted primer or high-quality white can help achieve a more accurate color representation with fewer coats of paint.
6. Tape and Protect Other Surfaces
You can follow all the surface preparation tips you want for your interior painting job, but you need to protect your existing surfaces that you don’t want to change! Properly taping and covering adjacent areas to your project is essential to ensure a clean and professional finish. Use high-quality painter’s tape to mask off trim, baseboards, windows, adjoining walls, and any areas you want to protect from paint splatter. Ensure that the tape is applied smoothly and securely to prevent seepage. Lay down drop cloths to protect your floors and furniture from paint drips and spills. Then, secure them in place with weights or tape to avoid accidental slipping.

Proper wall preparation is a step to be completed on time regarding interior painting – it is half the job for a new coat of paint! These surface preparation tips are the foundation of a flawless paint job and ensure your home truly shines. While these steps will help you achieve a professional-quality finish, don’t underestimate the ease of hiring a team of seasoned professionals to help accomplish your residential painting needs. Professional painters can simplify this process, making your life easier and speeding along your home renovations.
How Paintmaster Services Can Help with Your Interior Painting
Are you considering embarking on an interior painting project? Skip the hassle of DIY prep and interior painting; Paintmaster Services Tri-Cities, WA is here to help! Trust in our expertise for all your interior painting needs. Our team of experienced pros can complete any interior painting project quickly and efficiently; their seasoned hands follow each one of these surface preparation tips to a tee to ensure you have a professional finish and long-lasting results. Reach out to Paintmaster Services today and simplify your renovation journey!

At Paintmaster Services, our team of owners brings together a wealth of experience and a shared passion for delivering outstanding painting services. From residential homes to large-scale commercial and industrial
projects, they work collaboratively to ensure each job is completed with precision, care, and long-lasting quality. Their leadership shapes every aspect of our work — and our reputation.


