
Embarking on an interior painting project can be both exciting and daunting, especially for first-timers. The right paint job has the power to completely transform the look and feel of your space, creating an ambiance that reflects your style and personality. Whether you’re a DIY enthusiast, a first-time homeowner, or a renter aiming to refresh your living space, understanding the basics of interior painting is crucial. This guide is designed to walk you through the essential dos and don’ts of interior painting, ensuring your project goes smoothly and results in a finish you can be proud of. Let’s dive into the world of interior painting and unlock the secrets to a successful painting adventure!
Mastering the Art of Interior Painting: Essential Dos for Success
1. Preparation is Absolutely Necessary!
The journey to a perfect paint job begins with thorough preparation. Start by removing or covering furniture and protecting your floors with drop cloths. Then, take the time to clean walls diligently to remove dust and grime, ensuring the paint adheres properly. Next, use painter’s tape along the edges for crisp lines, a step that distinguishes a professional-looking job from a hasty one.
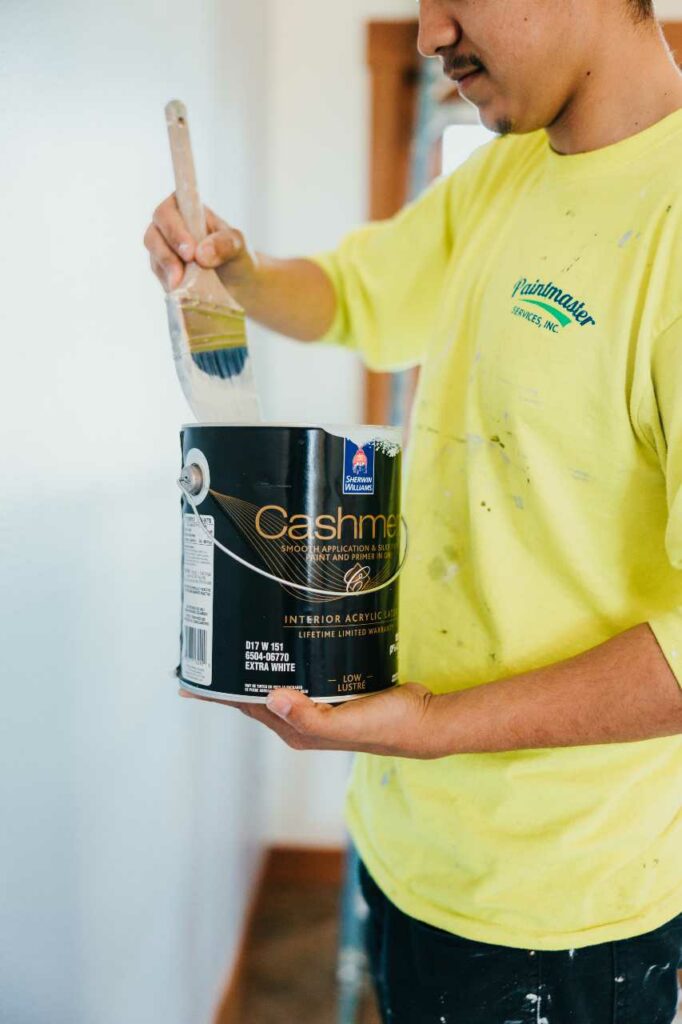
2. Selecting the Right Paint is Vital
Choosing the right paint involves more than just picking a color. First, you will want to consider the room’s function. For example, kitchens and bathrooms benefit from moisture-resistant paints, while living areas may require something more durable. When selecting a color, please don’t rely solely on paint chips; purchase a small sample and apply it to your wall. Observe how the color appears in different lights throughout the day and night, as natural and artificial lighting can significantly alter its appearance.
3. Using Quality Tools Make a World of Difference
While it may seem like a heavy price, investing in high-quality brushes and rollers for a smoother application is vital. Good tools not only make the job easier but also ensure a more even coat and less wasted paint. Remember, the right brush or roller can make a significant difference in the finish and texture of your paint job.
4. Utilize Proven Techniques to Ensure a Smooth Application
For a flawless finish, we highly suggest applying paint in a ‘W’ or ‘M’ pattern, then filling in without lifting the roller as it reduces streaks and unevenness. Additionally, be patient between coats, allowing ample drying time as recommended by the paint manufacturer. This patience pays off in the long-term durability and appearance of your paint job.
Avoiding Common Pitfalls: What Not to Do in Interior Painting
1. Skipping Adequate Surface Prep
One of the most critical mistakes in interior painting is skimping on surface preparation. Failing to properly clean, sand, and prime your surfaces can lead to paint that peels, cracks, or an uneven look. Always dedicate ample time to prep work, as this forms the foundation for a long-lasting, aesthetically pleasing paint job.
2. Forgetting the Primer
Many beginners overlook the importance of primer, but it’s a vital step, especially when painting over dark colors or patchy walls. Primer ensures better adhesion of the paint, resulting in a more uniform appearance. It also enhances the durability of the paint, making your walls look pristine for longer.
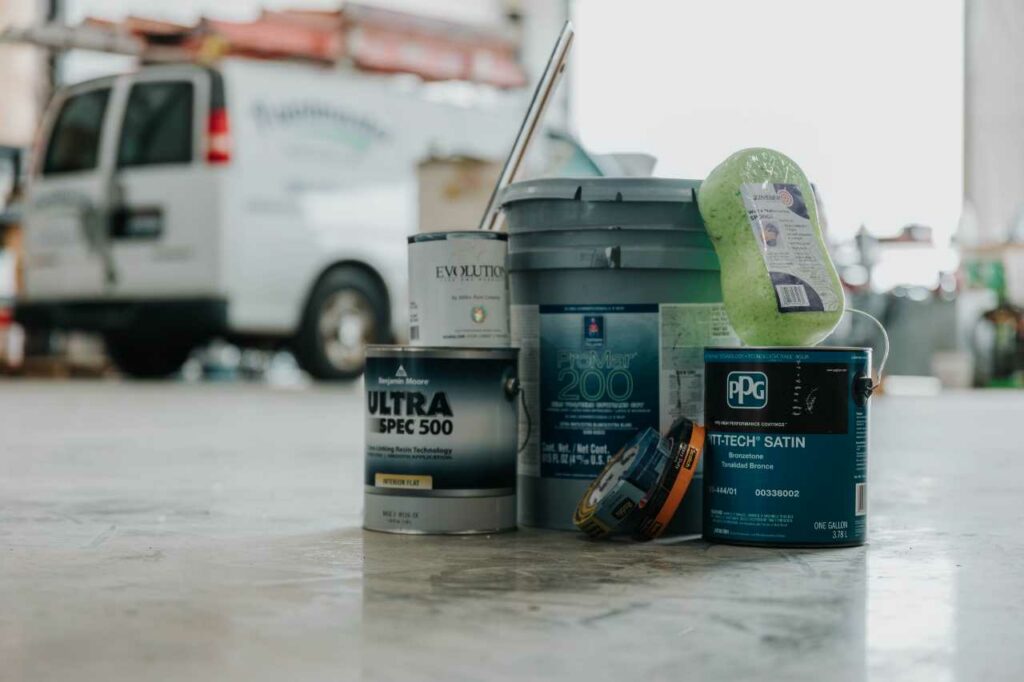
3. Using Individual Paint Cans
When starting your project, avoid working directly out of individual paint cans. Mix all the paint into one large container to achieve a consistent color across your walls. This practice is essential to counteract minor color variations that can occur between cans.
Pro Tip: Don’t discard the leftover paint after completing your painting project. Store it properly for future touch-ups, ensuring your walls can always look as good as new.
4. Rushing the Project
Finally, rushing an interior painting project is a recipe for disappointment. Speeding through the process to see the end result is tempting, but patience is vital. Ensure each coat of paint is completely dry before applying the next. This patience will pay off in the quality and longevity of your paint job, preventing issues like drips, streaks, and uneven layers. Remember, a rushed job is often a job that will need redoing.
Timing and Ventilation: Picking the Perfect Time and Ensuring Fresh Air
The timing of your interior painting project is as crucial as the painting process itself. While you may be bored in the winter, we suggest opting for seasons with moderate temperatures and lower humidity, like late spring or early fall. These conditions allow for better drying and less moisture in the air, which can affect paint quality and drying time.
Moreover, adequate ventilation is paramount for health and safety. You will want to keep windows open and fans running to ensure proper airflow, reducing the inhalation of fumes and aiding in the drying process. A well-ventilated space not only safeguards your health but also contributes to a flawless finish on your walls.
Your Detailed Step-by-Step Guide to a Successful Interior Painting Project
Embarking on an interior painting project requires more than just enthusiasm; it demands a well-thought-out plan. Let’s dive in:
Step 1: Calculate Paint Requirements
Measure the room’s dimensions to estimate the amount of paint needed. Remember to account for multiple coats—factor in the room’s square footage and the coverage provided by your chosen paint.
Step 2: Room Preparation
Clear the room as much as possible. Cover remaining furniture and floors with drop cloths or plastic sheeting. Remove or cover light fixtures and electrical outlet covers for a more professional finish.
Step #3: Start with the Ceiling
Use a roller with an extension pole to reach the ceiling comfortably. Apply the paint in steady, overlapping strokes, starting from one corner and moving systematically across the surface.
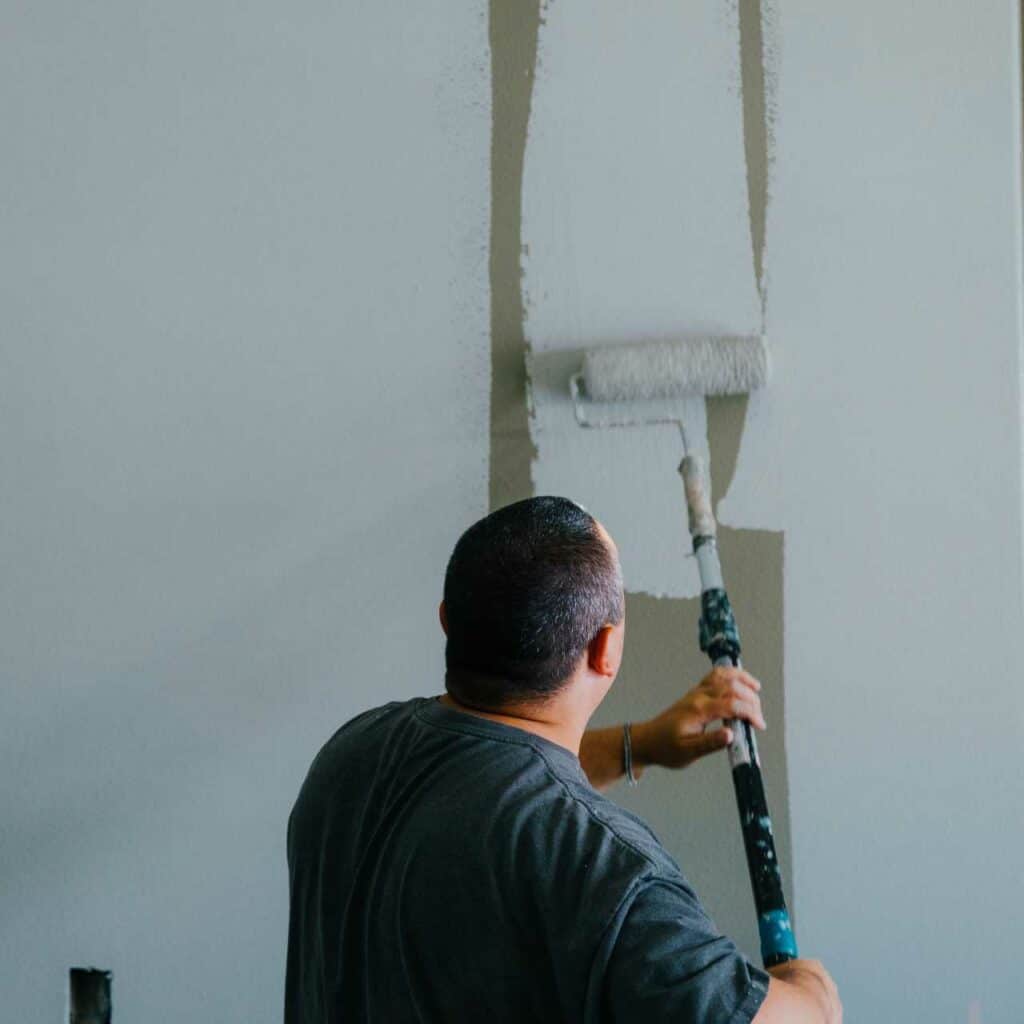
Step #4: Move on to the Walls
Tackle one wall at a time. Cut in at the edges using a brush for precision, then fill the larger areas with a roller. Apply paint in ‘W’ or ‘M’ patterns, then fill in the gaps, blending into wet edges for an even finish.
Step #5: Finish with the Trim
Use a smaller brush for the trim around doors, windows, and baseboards. Be meticulous and keep a steady hand for clean lines. Consider taping off areas for sharper edges.
Step #6: Allow Adequate Drying Time
Wait for the paint to dry completely between coats. Check the manufacturer’s recommendations for drying times. Rushing this step can lead to smudges and require additional touch-ups.
Step #7: Cleanup and Storage
Clean brushes, rollers, and trays with soap and water if using water-based paint or a solvent for oil-based paints. Properly seal and store any remaining paint in a cool, dry place for future touch-ups or color matching.
Following these detailed steps will help ensure your interior painting project is smooth, efficient, and results in a beautifully painted space.
Embark on Your Painting Journey with Confidence
Let’s be honest; you’re busy! You may not have the time, skill, or desire to take on this painting project. Are you ready to revamp your space with a fresh coat of paint but unsure where to start? Contact Paintmaster Services for professional advice or to schedule a consultation for expert interior painting services! Let us guide you through each step, ensuring a flawless transformation of your living space.

At Paintmaster Services, our team of owners brings together a wealth of experience and a shared passion for delivering outstanding painting services. From residential homes to large-scale commercial and industrial
projects, they work collaboratively to ensure each job is completed with precision, care, and long-lasting quality. Their leadership shapes every aspect of our work — and our reputation.


