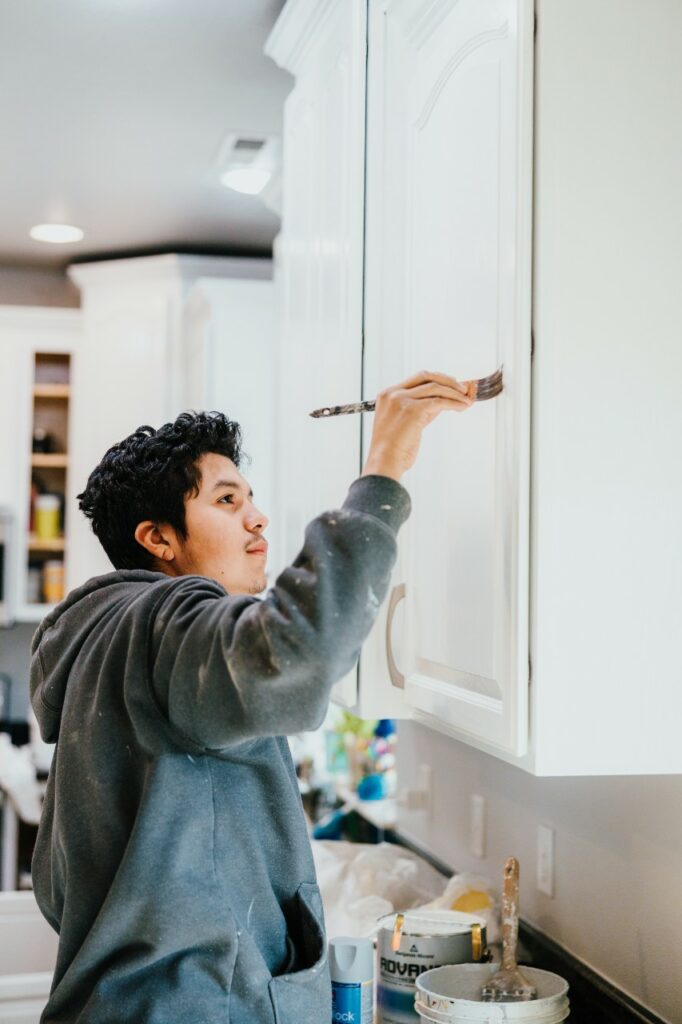
Does your kitchen feel a bit outdated or in need of a change? Repainting your cabinets can provide a stunning refresh or complete aesthetic change to your space. Whether you want to paint over some nicks and worn edges or completely switch color palettes, an interior painting job can become quite the task! Hiring a professional painter means you are guaranteed an efficient process with a flawless finish and might be the route for the best results if you have the money to spare. However, if you are on a tight budget or are particularly handy with a paintbrush, you should consider a kitchen cabinet painting DIY project.
This article contains everything you need to know for your painting project. One of the most vital tips to remember is to take your time. Rushing through a paint job makes for messy edges, paint splatters, uneven brush strokes, and a terrible finish. Complete each step on this list with patience, and you will be well on your way to beautiful, updated kitchen cabinets!
8 Interior Painting Tips for Kitchen Cabinet Painting
1. Choose the Correct Paint

First things first, you must select the correct paint. Yes, you want to find a color that matches your vision or design, but choosing the right paint means much more than that. Paint type impacts a surface’s finish, appearance, and durability. Latex-based paints are the best option for kitchen cabinet painting due to their scrubability and resistance to wear and tear. Some companies suggest an alkyd enamel paint, as it leaves few brush strokes and is cleaned easily with soap and water.
2. Make Time for Preparation
Preparation is the dullest part of painting. It is exhausting and time-consuming, and you feel like you have nothing to show for your efforts. However, cleaning your surfaces is critical for proper paint adhesion. Try a degreasing cleaner, then lightly sand with a high-grind sandpaper to wear down some of the old finish.
3. Add the Primer
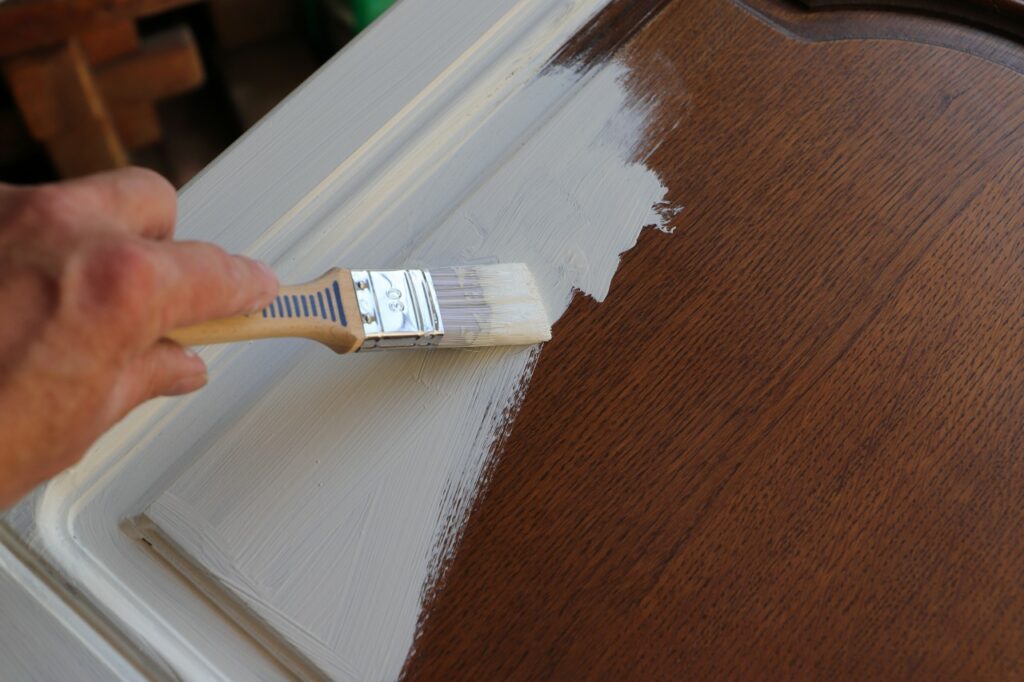
Do you need to add the extra step of priming your cabinets? The short answer is yes, using a primer is worth it. Priming adds a barrier layer, allowing your new color to truly shine instead of being absorbed. This is especially helpful if you are painting wood or previously dark surfaces. Similar to sanding, primer creates some traction to help the paint adhere. Although you might think this is an unnecessary step, remember the first tip is to take your time. Priming and painting the right way will leave you with a better product!
4. Spray the Doors
Using a paintbrush and roller to paint your doors will cover the surface adequately. However, spraying your doors is the best way to achieve a professional finish. A bonus – it saves a lot of time! Not all of us have a paint sprayer, but you can rent one for the day or invest in purchasing a unit if you plan on doing more DIY projects.
5. Tape All Edges
Let’s face it, although you are trying to complete a quality DIY project, you probably don’t have the seasoned, steady hands of a professional painter. Enter painter’s tape! You can achieve pro-looking, nearly perfect lines by using painter’s tape to tape off the walls and ceilings adjacent to your cabinet boxes. You can also use painter’s tape around the interior edges of your cabinets for a clean look inside. Pro tip – the green variety is usually the sturdiest!

6. Paint the Frames
There are two ways to paint the frames or cabinet boxes. The first is to spray them, similarly to the doors. However, you must remove your cabinets and take them outdoors to paint or cover and tape off every other surface in your kitchen. The second option is a combination of brushing and rolling. Use a paintbrush to coat the edges and the roller to complete the coat while the paint is still wet. Don’t forget to coat the inside edge of the cabinet and watch out for paint drops that sneak around on opposite sides!
7. How Many Coats?
One way to ruin your painting project is by skipping out on that last coat. Although it is possible to use two layers, three coats are best for kitchen cabinet painting. Two can cover the previous color, but three layers will give you that professional finish and look, especially if you use the brush and roller application method.
8. Let It Dry

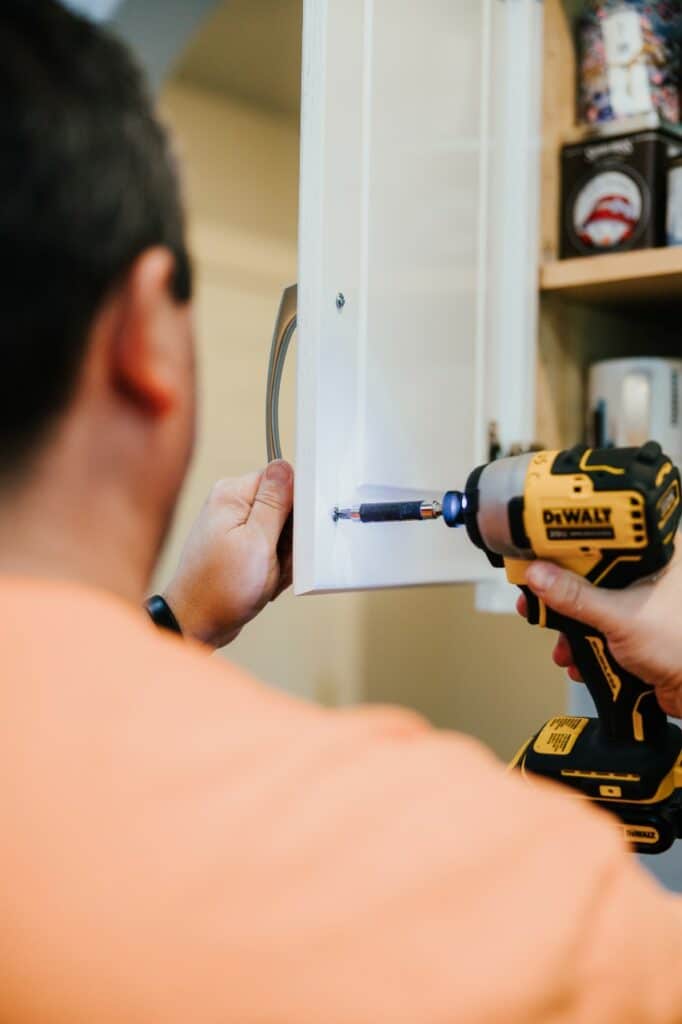
Let’s face it; one of the most exciting parts about a DIY project is finishing up and seeing the final product. However, stick to the theme of this article and give your cabinets time! They must be thoroughly dry before installation. This means leaving the doors off for at least a week. Some types of paint take up to thirty days to cure completely. If uncured frames and doors touch, they will likely damage one another or pull the paint off completely. You don’t want all your hard work to go to waste just because you were antsy!
Professional Painters: An Alternative to DIY
After reading these painting tips, you may feel slightly daunted taking on this task. Sometimes big home projects or renovations like cabinet updates are best completed by the pros. Professional painters use their years of experience to set up, prep, and accomplish the job quickly. They are also wholly dedicated to the project. This means that your house will be back to normal in much less time than it would take to do it yourself. Take the easier route, and let a professional company handle the work. This saves you time and stress and guides you away from potential mistakes. Plus, in the end, you are guaranteed a picture-perfect product!
How Paintmaster Services Can Help
Are you looking for professional kitchen cabinet painting in the Tri-Cities, Washington, area? Paintmaster Services is here to help! We have years of experience in interior painting and are ready to help you achieve the kitchen of your dreams. We use our expertise to make recommendations considering your budget, aesthetics, personal preferences, and the best products. Visit our website to get a free estimate for interior residential house painting. Let the pros take care of your home painting during the winter and help you design the kitchen you’ve always wanted!


