
Does your bathroom need an upgrade? Or simply a little refresh? Despite their size, bathrooms are one of the most expensive rooms in a home to renovate. However, some simple shortcuts can completely change the look and feel of your space. One easy project is changing the color of your cabinets. In a small area, painting bathroom cabinets a neutral color can bring calmness, organization, and grounding to the room, and choosing a brighter tone can add a pop of color.
After you select your ideal color, it’s time to get painting! If you don’t want to spend money on hiring a professional company, you may be wondering how to achieve a professional finish when painting bathroom cabinets yourself. Read on for a comprehensive guide on how to make your bathroom paint job stand out!
Steps for the Perfect Bathroom Cabinet Paint Job
Bathroom cabinet painting may seem like an easy task. However, if you want your cabinets to look top-notch, here are some critical steps you should follow!
1. Remove Hardware and Disassemble Cabinets
The first step to your paint job is to remove all of the old cabinet hardware so you don’t have to paint around them. Using a screwdriver or drill, you should also disassemble your cabinets by taking out all of the drawers and removing the doors at this stage. This ensures you can paint each surface while it is horizontal, ultimately avoiding drip marks and uneven paint.
2. Wipe Down Everything for a Clean Surface
Once you have all of your parts laid out, it is time to give them a good scrub to get years of dirt off. This step is critical before sanding. If you sand your cabinets before you clean them, you risk embedding the grime further into the surface, which is inconvenient for painting. A kitchen degreaser is the best product to remove each layer to prepare your cabinets for the painting process!
3. Patch Any Holes in the Cabinets
If your cabinets show wear and tear, this is the time to patch those holes, divots, and dents. It is critical to fill the old hardware holes as they might not match up with the new ones. You want to start with a clean slate; this task is best completed with wood filler and a small putty knife.

4. Sand Away Years of Aging
When sanding, the lower grit numbers mean coarser paper and more abrasive sanding. If you want to strip paint on your cabinets, use 60-80-grit. Sanding with 80-120 grit will strip the previously stained cabinets. If you have MDF material cabinets, use 120-grit sandpaper and sand by hand so you don’t damage the surface. If you sand untreated wood, 120-220 fine-grit sandpaper will help even out your texture. In most cases, mechanical sanders will save you heaps of time in your bathroom cabinet painting process!
5. Wipe Away the Mess You Just Made!
You thought you were onto the fun painting part already, didn’t you? Well, don’t forget that after you sand, you must clear all of the dust off the surface so the paint will adhere. It is essential at this point to thoroughly wipe down each cabinet!
6. Prime & Sand as You Paint
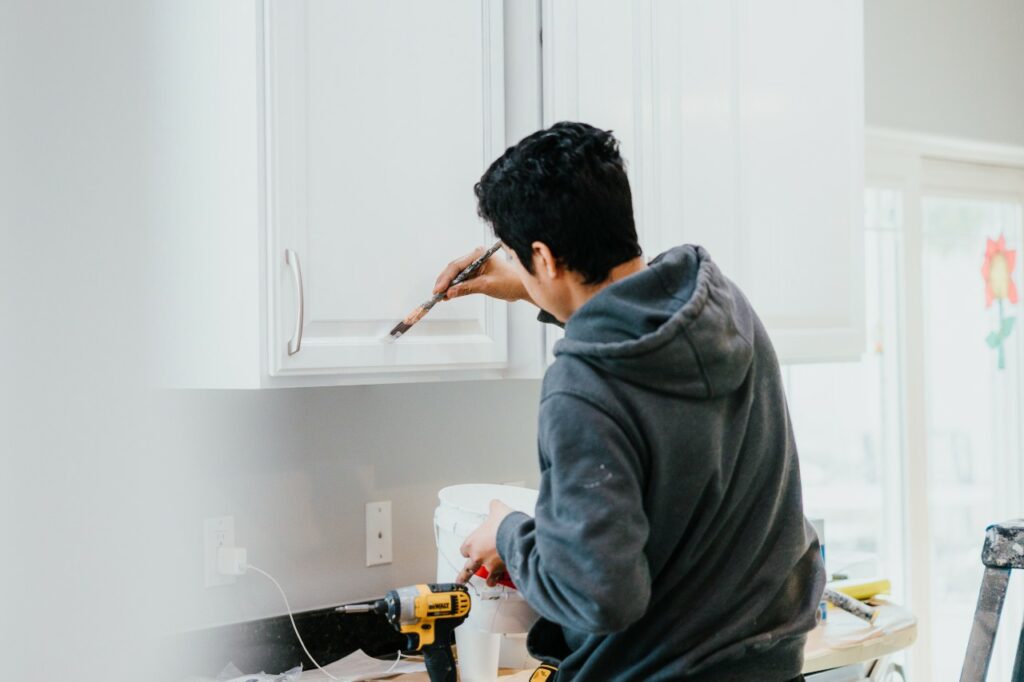
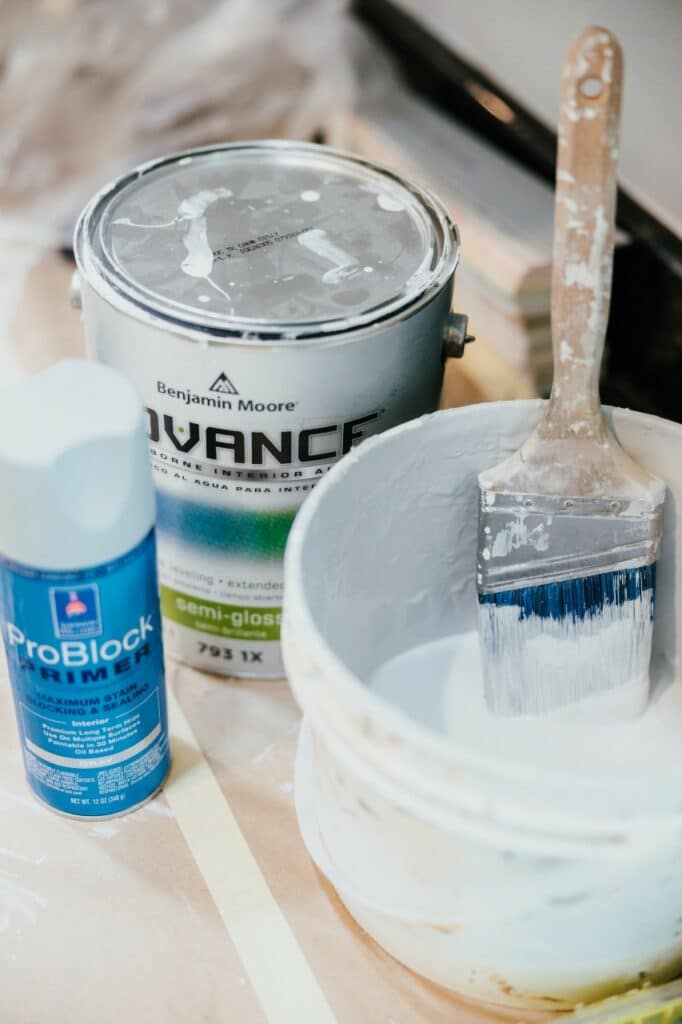
Finally, painting! Priming is a critical step if you want a professional-looking paint job. Using an angled paint brush, start with the details – paint all corners, trim, and cutouts first. Then use a small to medium size foam roller to finish the bigger, smooth surfaces. Remember when painting – less is more! Using too much paint can leave trip marks and uneven surfaces. If you want to level up your project, use fine 220-grit sandpaper between your coats of primer for a professional finish. Don’t forget to wipe down again after sanding!
7. Paint, Sand, Paint, Sand, Paint
Now it’s time for the fun stuff – adding that beautiful new color you’ve been looking forward to! A durable water-based paint is ideal for painting bathroom cabinets. Be sure to paint each side of doors and drawers while lying flat, and repeat the same fine-grit sanding process in between layers as you did with your primer. This helps eliminate brush strokes and gives a smooth finish. Don’t forget to skip the sanding after your last coat!
8. Reassemble & Add Hardware
After all that, your bathroom cabinet painting project is almost complete! Before you rush to finish, ensure that you give your paint ample time to dry. No one wants to complete all these steps, only to leave smudges, scuffs, or marks on their new paint job because they were too hasty. After you are sure your paint is dry, it is time to reassemble your cabinets. Be sure you attach all doors on the correct sides, ends, and angles, ensuring each hole lines up perfectly. Reinsert each drawer, and you’re nearly done! Now all that’s left is to replace your hardware or add new ones! After these simple finishing steps, just like that, you have professional, new bathroom cabinets. You can enjoy your new unit and a refreshed feel in your space.
How Paintmaster Services Can Help Paint your Bathroom Cabinets
For some, completing a DIY painting project might not be in the cards – maybe you don’t have the confidence in your skills, or you just don’t have the time to spare. Hiring a professional painting company is a seamless, stress-free process. If you are looking for assistance with your next painting project in the Tri-Cities, Washington area, Paintmaster Services is here to help! We have years of experience in interior painting, from walls, ceilings, trim, doors, and cabinets. If you want to refresh your space and achieve a top-quality finish, visit our website to check out our services. You can get a free estimate for your next interior residential house painting job on our page, and our team will contact you promptly to start your painting journey!

At Paintmaster Services, our team of owners brings together a wealth of experience and a shared passion for delivering outstanding painting services. From residential homes to large-scale commercial and industrial
projects, they work collaboratively to ensure each job is completed with precision, care, and long-lasting quality. Their leadership shapes every aspect of our work — and our reputation.


