Whether you are a new homeowner looking to personalize your new home, a mom who wants to update her once-white walls, or simply want to change the color of your walls, an interior house painting project is no small feat. If you are new to interior painting, you need a few key pieces of knowledge before getting started. Check out these ten tips to help you perform a high-quality project.

10 Tips for Interior House Painting for Beginners
1. Lightly Sand the Walls
Before you even pick up a brush to start your interior house painting, we recommend investigating the state of your walls. Depending on your wall style, whether it has texture under the paint, and what it has been through, there may be some rough bumps or ridges. Before painting, we advise taking fine-grit sandpaper to the wall to remove any sharpness. If you have texture under the paint, you don’t need to sand it all away; just smooth it out a bit.
2. Clean the Walls Thoroughly Before Painting
While investigating the state of your walls, we suggest you also give them a good scrub. Walls collect a surprising amount of dirt, slime, and oil over the years from sticky fingers and dust floating around in the air.
Many homeowners believe that in an interior house painting project, one can just paint over the dirt and grime. Unfortunately, doing so means the paint will likely chip or peel away. We recommend mild soap for slightly dirty areas and a hardcore cleaner for stuck-on grime. Remember to wipe away any dust accumulated from sanding the walls as well. After, give your walls time to dry before painting.
3. Lay Out a Cotton Drop Cloth
A cotton drop cloth is essentially a thick blanket one will lay down to protect flooring from paint spills or splatters. While many homeowners choose thin plastic sheets, they are not nearly as effective. First of all, those flimsy plastic sheets can bunch and slip, exposing parts of your floors. Additionally, it is easy for feet to get tangled and send the painter crashing down. Plus, these plastic sheets are not recyclable. As a one-use plastic product, that’s a lot of plastic to just throw away. If you ever plan to do any interior house painting again, we recommend spending the $20-$50 on a good drop cloth that you can use again and again.

4. Put on Work Clothes
You are going to get paint on yourself while you are painting. It will happen no matter how many precautions you take or how masterful you are with a paintbrush. There is a reason why most painters bring out the overalls, aprons, or “work clothes” they don’t care about. While interior paint will scrub off your skin and hair eventually, it is doubtful you will get it off your clothes. So, before mixing the paint, put on clothes you are prepared to get dirty!
5. Mix All the Paint Together
Our last tip before you even begin painting is to mix all of the paint together. While you may have bought four cans of the same color of paint, that doesn’t mean that each can is identical. By mixing all the paint, you can ensure that your interior house painting is even all the way through.
6. Start with the Trim
The first element of your interior house painting project to tackle is the trim. Start by painting the trim and completing the edgework. Doing the trim first means you don’t have to worry about accidentally hitting the walls. After the trim is complete and 100% dry, cover it and the adjacent 3 to 6 inches with tape.
7. Paint the Ceiling with a Grid Pattern
When completing an interior house painting project, we recommend painting from top to bottom so the ceiling is up next! The best method for painting a ceiling is to use a grid approach. Paint 3 to 6 square feet of the ceiling at a time; this will keep the edges wet so one can seamlessly move to the next section to ensure a smooth, even coat.
8. Use a W, V, or Cut-In Painting Technique for Walls
To ensure an even application of paint on the walls, one can use a paint roller to utilize the W or V painting technique. Essentially, you apply paint in the shape of a W or V, then fill in the remaining vertical space without lifting your roller from the wall.
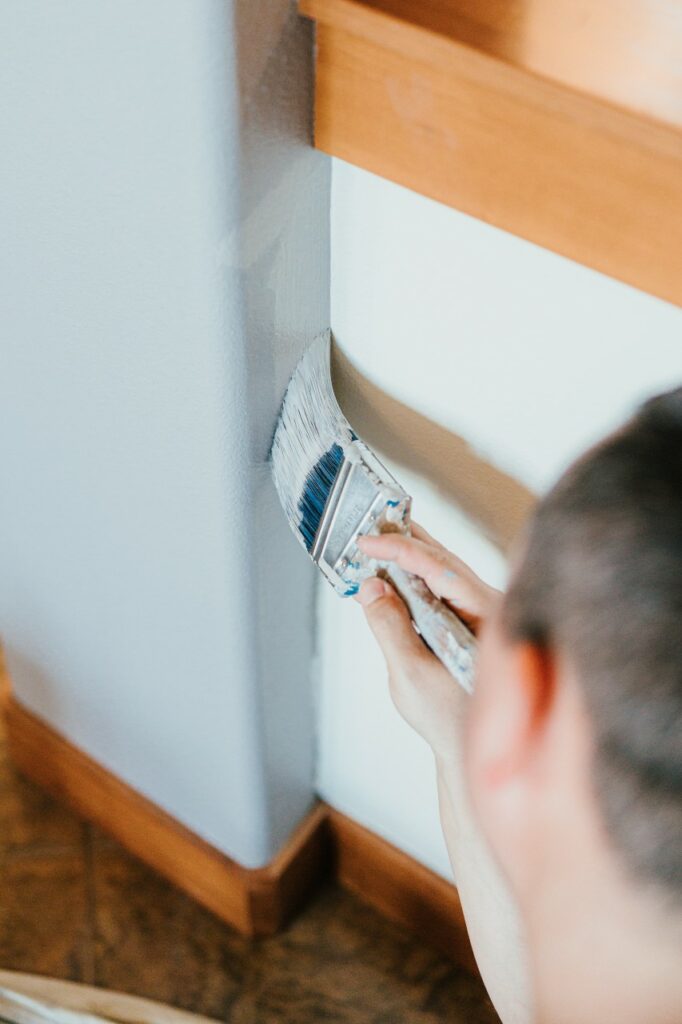
If you are confident in your painting skills and have a steady hand, you can use the Cut-In Technique with a paintbrush for corners and areas close to doors, light switches, trim, etc. If you can master the Cut-In Technique without getting paint everywhere, you skip using a bunch of painter’s tape. However, if you have even the slightest shake to your hand or are new to painting, we don’t recommend attempting to do this!

9. Remove the Painter’s Tape Before the Paint Dries
Assuming that you did not use the Cut-In Technique, you will have gone through quite a large amount of painter’s tape to protect your trim and other wall components. A critical aspect of ensuring a high-quality interior house painting is knowing when to remove the tape. We suggest gently removing the painter’s tape right before it is completely dry. In doing so, you won’t have to worry about dripping while also making sure there is no left-behind residue from the paint itself.
10. Hire a Professional Licensed Interior Painter like Paintmaster Inc.
Interior house painting is quite the feat. For most homeowners, taking the time to complete this project is a tedious chore that often results in frustration and sometimes a poor result. Rather than stressing over painting techniques, supplies, and procedures, you can hire professional licensed interior painters to complete the project for you.
With Paintmaster Services, we bring our experience, reliability, and high-quality products and services to every job to provide our customers with a beautiful paint job. You can rest assured that your project will meet your desires in a quick and efficient manner. To learn more about our services, schedule a free estimate today.


